The Timing
Up to this point it was running now, but still not that well. At least it would idle? My dad had suggested we do the timing and I already knew I had to mess with the air/gas mix and idle speed anyways. Might as well get it all done right?
First my dad dug out the old timing light (thank goodness he held on to it!).

Next was to mark out the degrees on the belt crank. I went with marking the 0, 15, and 30 as reference points for the light. (Using a light color aka white works great mainly because it SHOWS UP!)

I was trying to figure out what was the ideal setting for the timing. From what I read online against a comparable engine 15 degrees was good. I would later find out that 13 degrees is ideal for this stock engine. The biggest is to advance it until you hear pinging at high rev, and then back it off until the pinging goes away. Like I said, 13 ended up being the lucky number. Here is a clearer picture.

For those who don't know about timing (I sure didn't!) it is the coordination of piston compression and timing of the spark, hence timing. What you need is an inductive timing light, two golf tees to plug the vaccum lines, and a wrench to tighten/loosen the bolt holding down the distributor cap. You'll need to unplug the vaccum lines coming out of the distributor and plug the golf tees into them to reseal them (don't forget which one is which!) while the engine is running. Next you'll put the inductive sensor over the wire for the first piston. For my 68' 302 it was the front left. Then loosen the bolt (kinda below the distributor) which keeps the distributor from turning either which way. Then you'll aim the light at the marks you put on the belt crank.

And then pull the trigger!
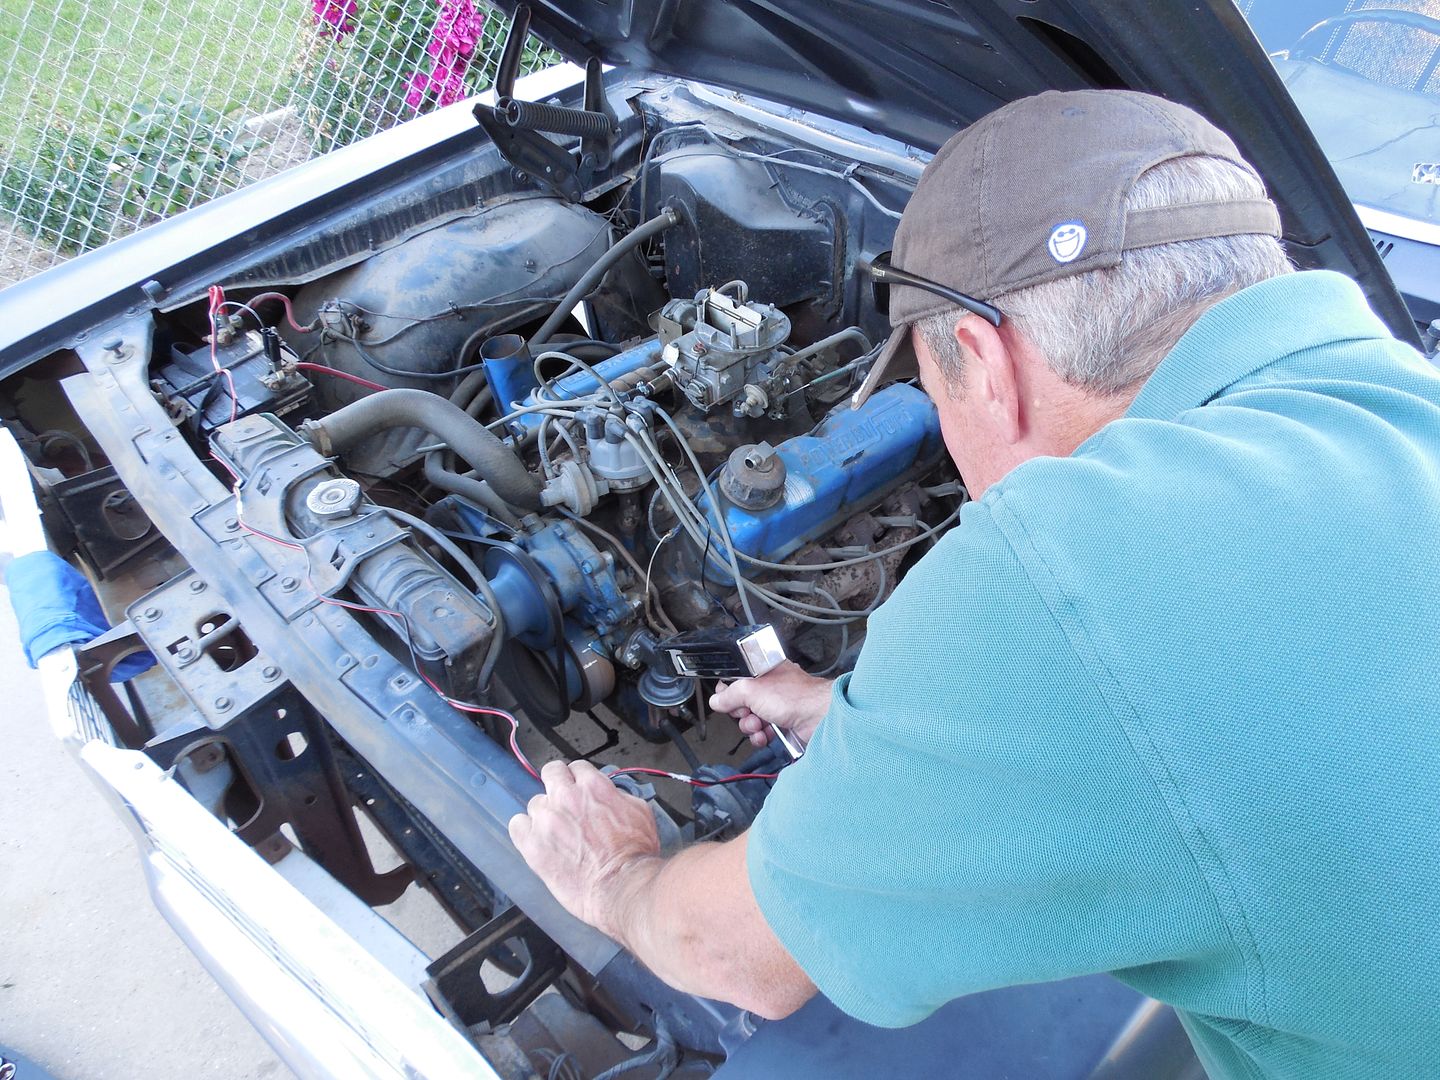
And sha-zam! You can see where your timing is currently set! (About 13 in the picture) When we got started it was set at -2! No wonder why it ran like a junker. Next I turned the distributor cap (I think clockwise?) and advanced the timing until our marks lined up to 15 degrees. After revving and listening to pinging we ended up setting it back a little to 13 degrees. Boy did that work wonders! Finally we tightened down the distributor cap, plugged the vaccum lines in and we were good to go!
Next I needed to play with the air/gas mix and idle. There are two screws for the air/gas located down low in the front of the carb. From what I've gathered, screwing the screw until it seats, then backing it out 2 &1/2 turns puts you right in the ball park of where you want it to be. Be very careful when seating the screws not to tighten them with any amount of torque, it is fairly ease to bust through the wall of the carb, which renders it basically useless. Here is a shot of one of the air/gas mix screws.

Next I moved on to the idle and settled the engine down to a very low (but steady) rumble. After himming, hawing, and tweaking the idle screw and air/gas I got it to where I like it. Here is a shot of the idle screw.

The engine is running smooth as butter at this point! Almost better than my sister's 2006 Mazda  Mission acomplished!
Last edited by Suicide68 (July 9, 2013 4:31 pm)


