This forum is for all years of the Ford Galaxie and all other Full-size Ford, Lincoln, and Mercury cars. This is a place to share information, skills, pictures, and stories for the purpose of building friendships and furthering the enjoyment and restoration of these cars |
Offline
This is awesome, got any more updates?
Offline
gelofish wrote:
This is awesome, got any more updates?
I am coming down the home stretch in getting my 351w build put back together. Everything except the timing cover has been cleaned and painted, all my parts have arrived. I need to:
clean paint timing cover and install seal crank
install the rear crank sleeve
install rear main seal
torque down heads
install and adjust rockers and pushrods
install fuel pump eccentric
install oil pickup
install timing cover
install harmonic balancer
finish sealing engine:
intake
timing cover
water pump
oil pan
valave covers
Install distributor
install flywheel
sounds like a lot but it is really one good afternoon other than waiting for the paint on the timing cover to dry. Once I get the engine together I will transfer it to the engine stand and start hooking every thing up and fire it up. Hoping to have some video of a running engine in a few weeks if not sooner.
Offline
70XL wrote:
If I had to do mine over I think I would probably get a Performer RPM intake instead of the regular Performer. My reading has indicated that you wouldn't give up anything on the bottom end and you would get noticeable gains in the mid-range and top end. This would probably be expected with your aluminum heads.
You wouldn't lose anything on the bottom end. Most of the time the rpm actually makes more low end. If I had more hood clearance in my '68 Cougar I would have went with the rpm. It just pretty much makes the regular Performer kind of obsolete if you have the clearance for it.
Offline
Great work - would love one of these!!
Offline
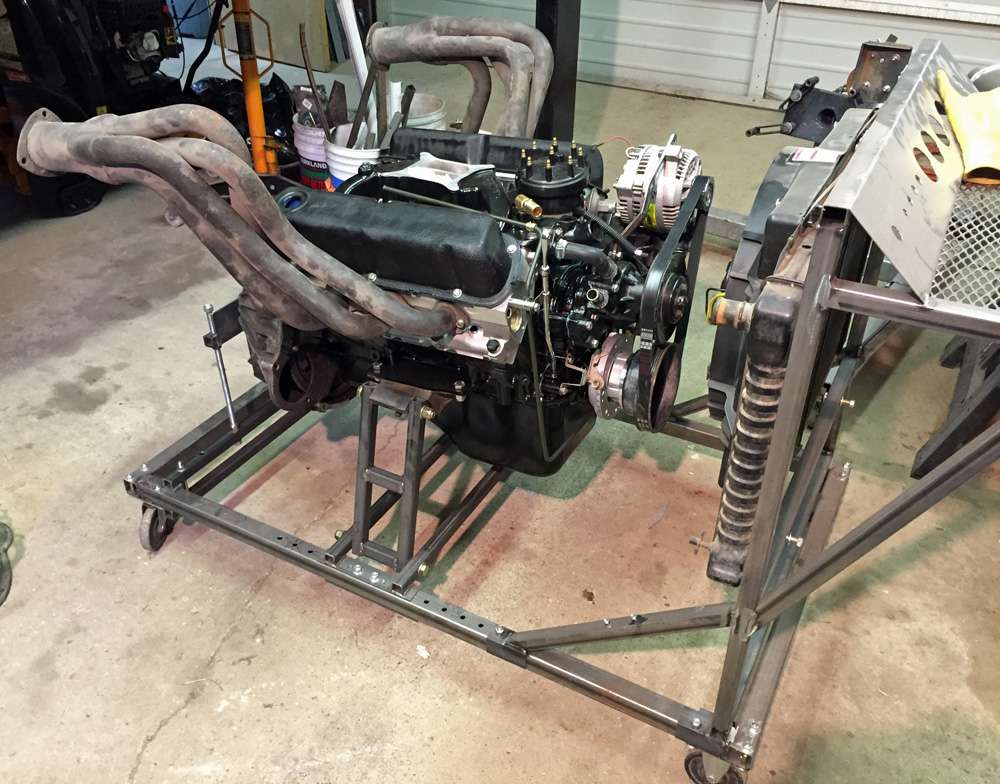
Getting closer. The 351W is all sealed up and now its just a mater of getting everything hooked up on the run stand. Glad I weighted to have it powder coated until after I used it the first time. Already had to make a couple of modifications to the stand.
Offline
Looking great. Nice to see someone making progress on something.
Offline
2 steps backwards two steps forward!!
Upon further inspection I realized that running the header upside down will only work if I chose not to run spark plugs. Since I kind of need them I spent the better part of the day modifying things to make them work. I only had to hammer in a few spots to get them to fit and I had already modified my bellhousing mount to be narrower so it looks like the headers will do the job.
After getting the headers sorted out I installed a few more small parts and then made a list of everything else I needed from the auto parts store and went and got it. Hoping to do a test fire in the next couple pf days. yes there will be video
Offline
Really cool, inventive work. I just want to hear it RUN!!!!
Offline
Was it the engine mount struts interfering with the headers? You could easily change the mounting of those struts so any exhaust configuration will clear.
Offline
70XL wrote:
Was it the engine mount struts interfering with the headers? You could easily change the mounting of those struts so any exhaust configuration will clear.
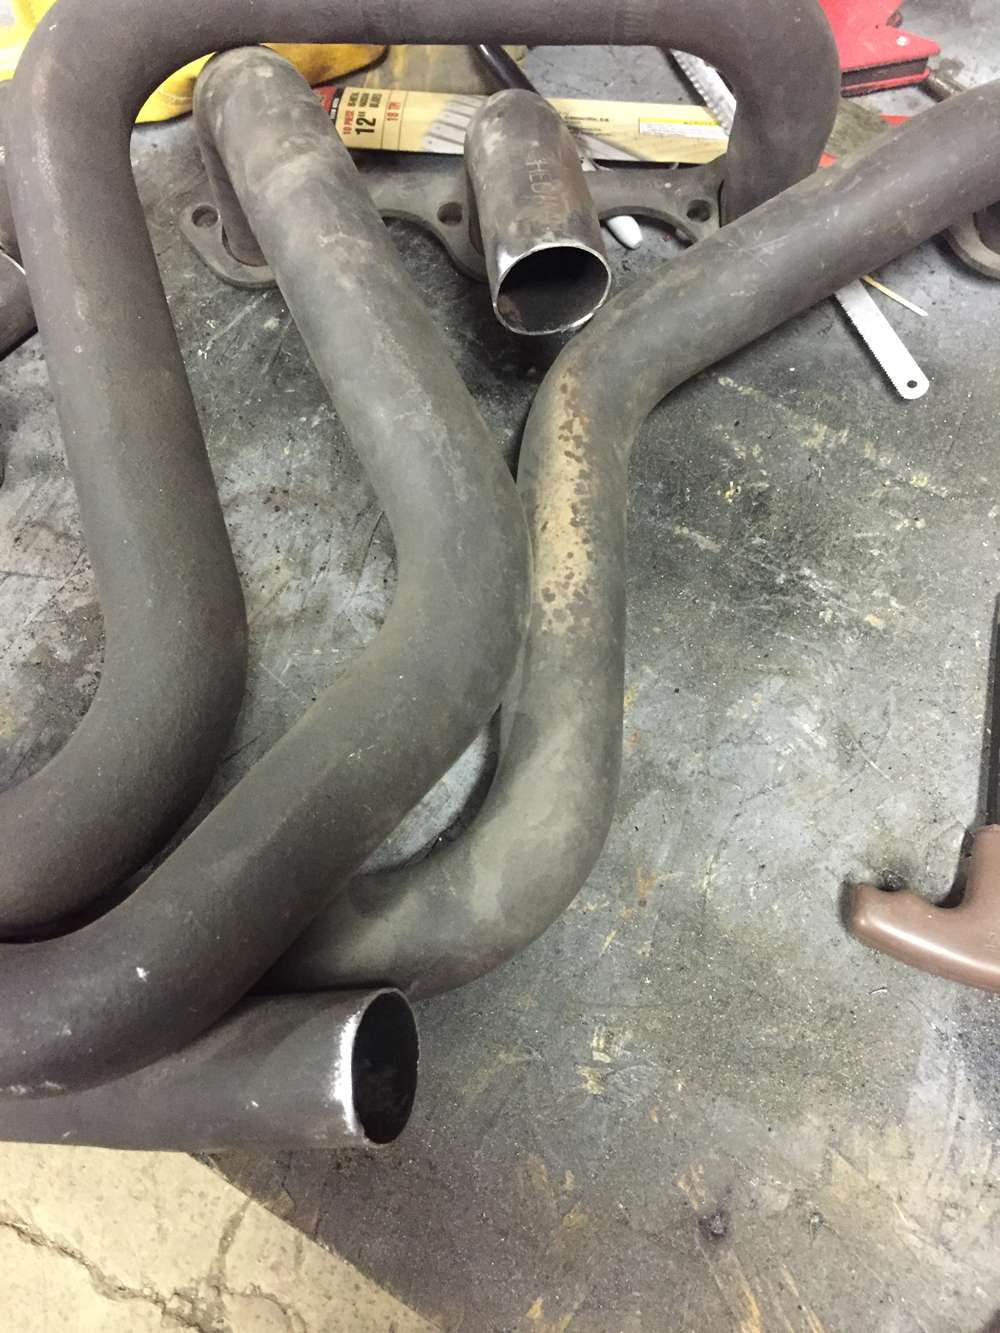
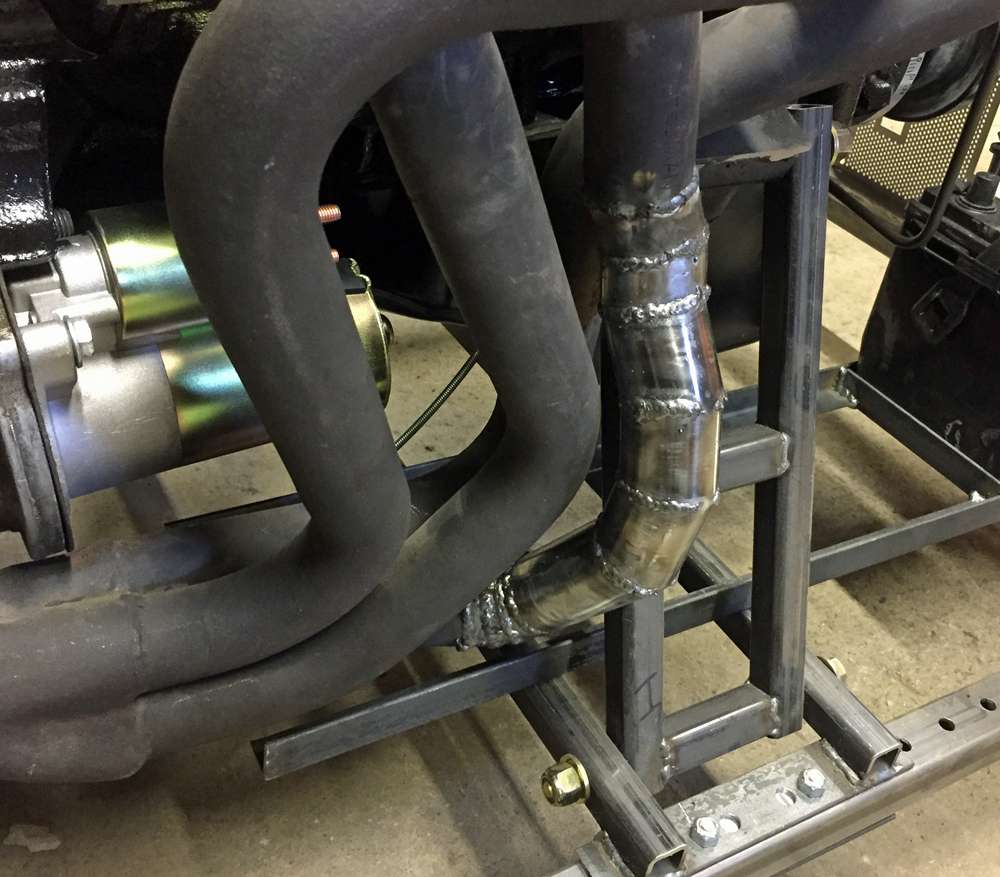
I really didn't want to mess with the engine support and the headers are "part of the engine stand" so I decided to modify them. I cut out the dented section.
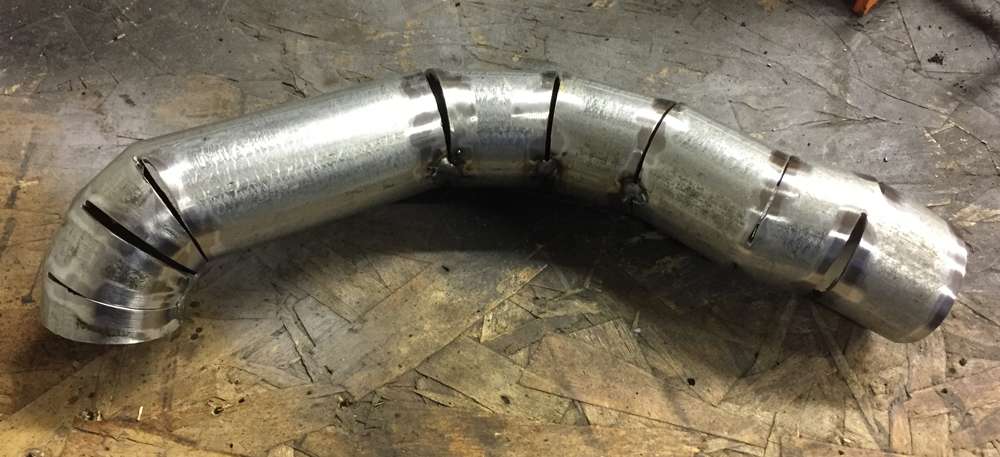
I then cut pie shaped sections out of a piece of strait tube and bent it to replace the cut section and clear the engine support.
I then welded the section into the header. Looks horrible but will do the job.
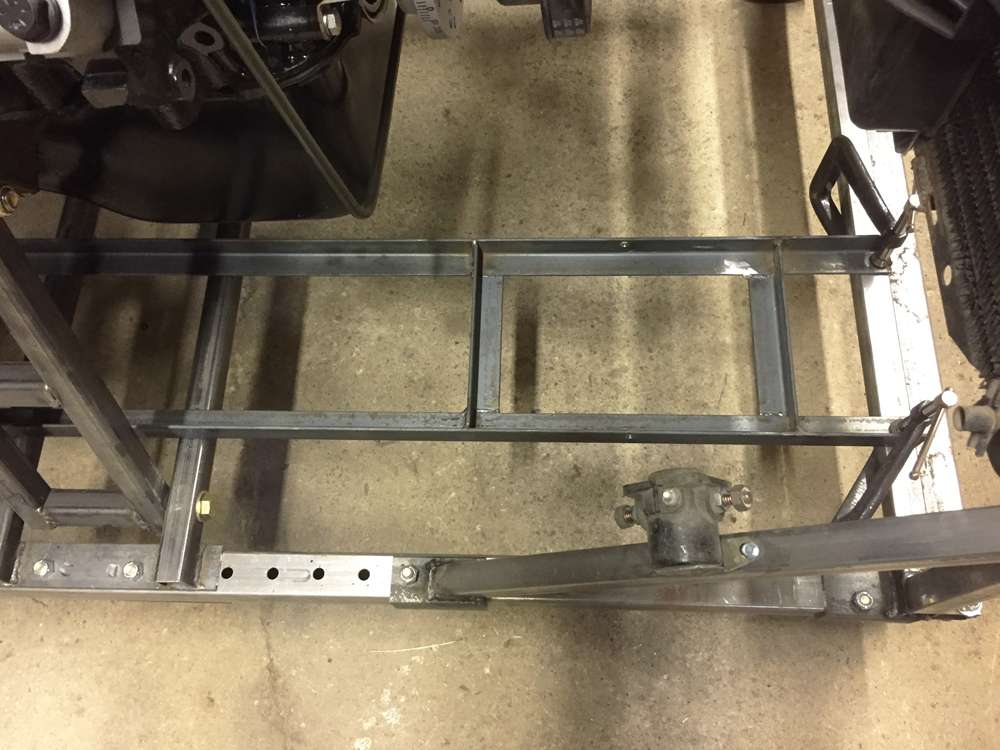
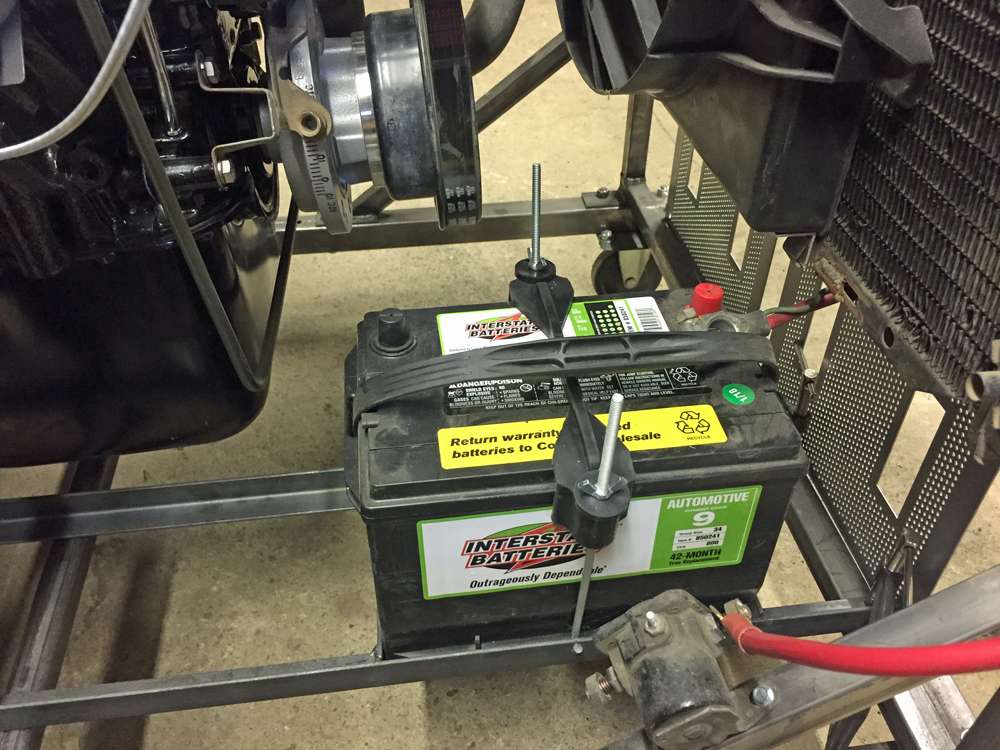
I also fabricated up a battery tray.
I have some wiring to do and then it should be ready to fire up.