This forum is for all years of the Ford Galaxie and all other Full-size Ford, Lincoln, and Mercury cars. This is a place to share information, skills, pictures, and stories for the purpose of building friendships and furthering the enjoyment and restoration of these cars |
Offline
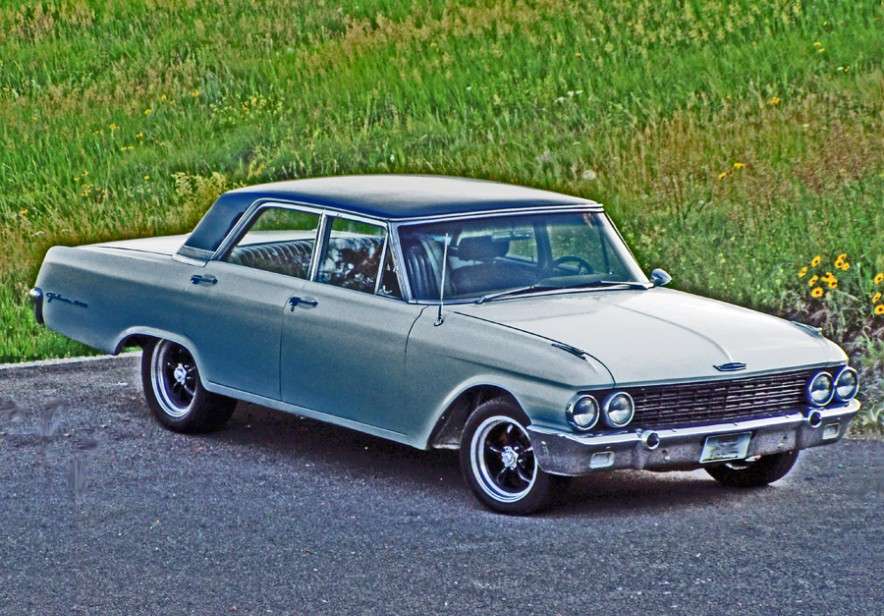
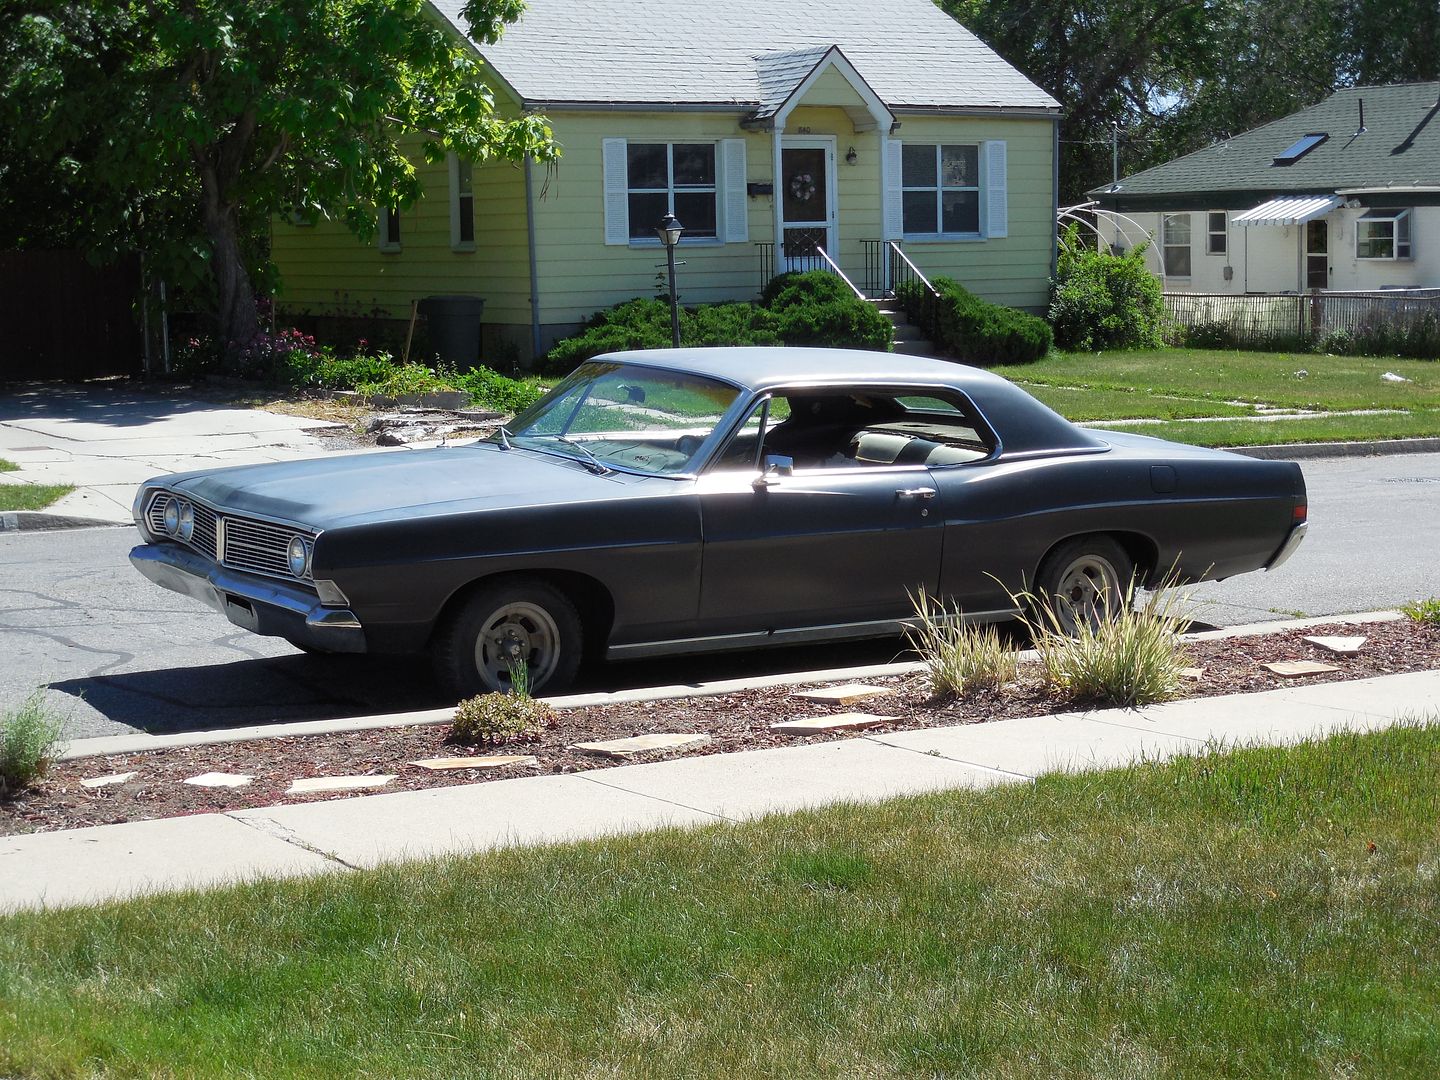
Ok, I've got another question to shoot at you guys. What kind of Galaxie do I have? It has the 302 V8, 2 Door, two bend seats. Is it a sedan or a coupe? I don't think it is the XL, rather, just a regular Galaxie. Thanks in advance!
Offline
I would think some one should be able to decode your vin and tell you exactly what you have AND what it looked like when it rolled off the show room floor. Just a suggestion, if you have a new question it is best to post it as a new topic, that way the question doesn't get overlooked.
Offline
Suicide68 wrote:
Ok, I've got another question to shoot at you guys. What kind of Galaxie do I have? It has the 302 V8, 2 Door, two bend seats. Is it a sedan or a coupe? I don't think it is the XL, rather, just a regular Galaxie. Thanks in advance!
Sedan typically refers to 4 doors and Coupe to two doors, in my experience. An XL would have hideaway headlights and probably the Sportsroof, whihch is the fastback in Fordspeak, and some "XL" badging. I'd say the body style you have is a 2 door coupe with the formal roof.
Offline
So, it's been a few days, but I feel like I've gotten more positive progress done on the Galaxie
The Carb
A couple first looks at the neglected Carb.
And a look at the leaky accelerator pump. This was the main reason for this endevor (leaky is an understatement).
Some of the cobwebs hanging out around the back of the engine...
A pair of vacuum lines that were rusted off of the exhaust manifold. I think they go to the choke? Not sure how this will affect the engine...
Got the carb off no problem! Really only 4 bolts holding it down to the top of the engine and a few vacuum lines branching off of it.
My carb make and model.
Getting set up to take the carb apart and clean.
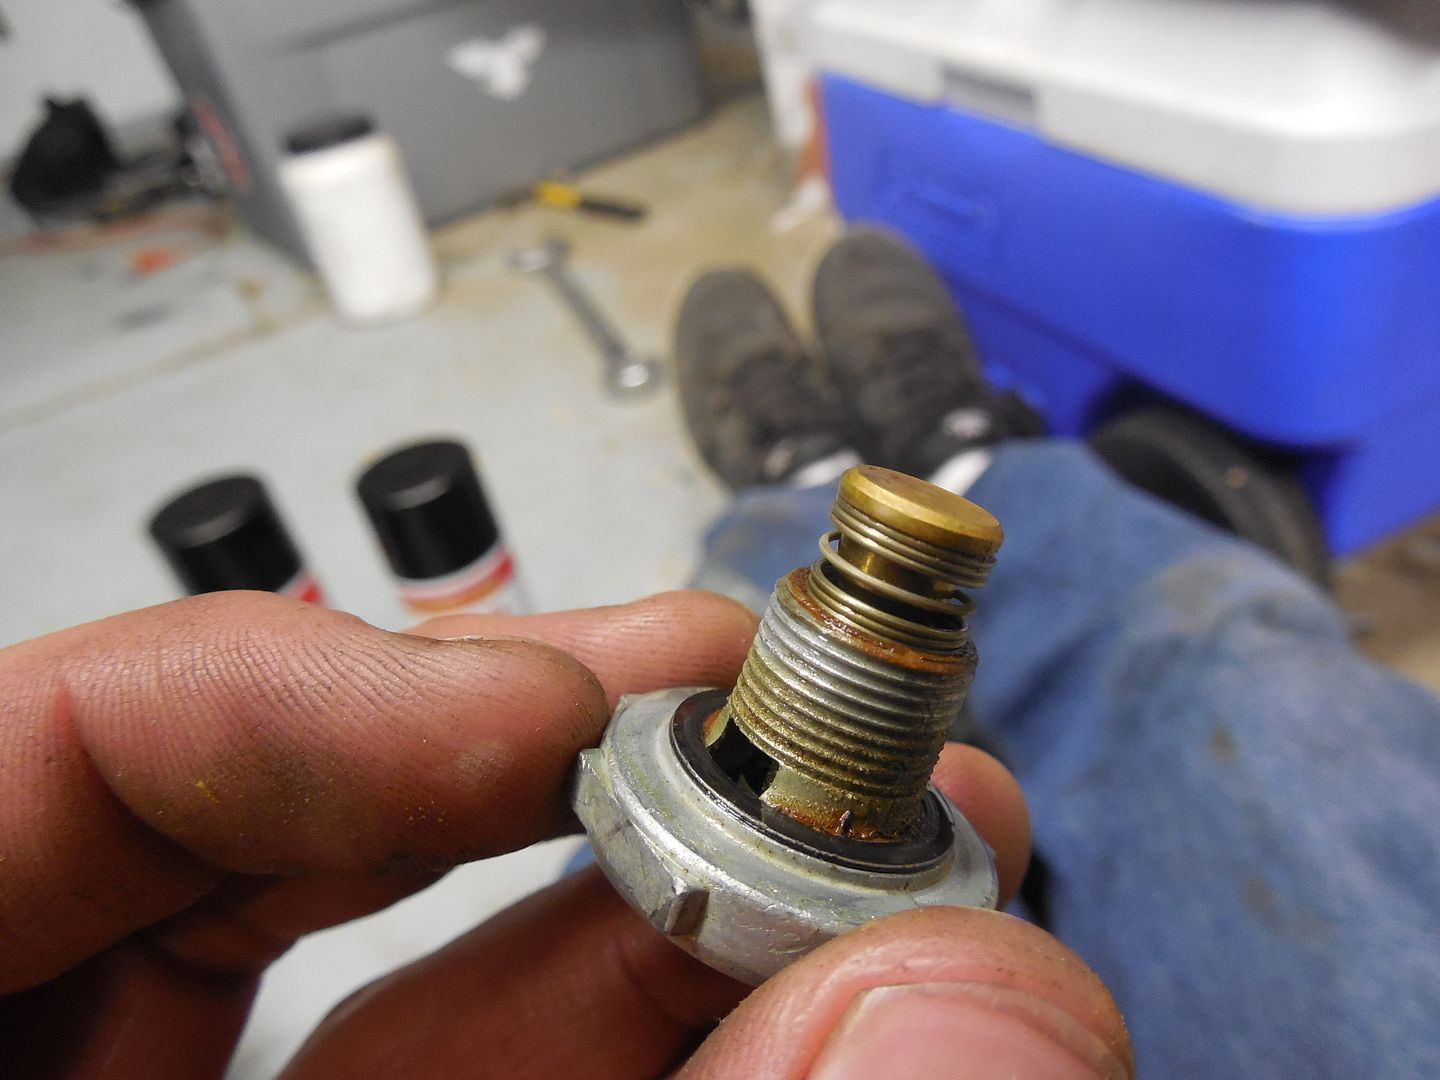
A shot at the leaky accelerator valve. This little guy was leaking fuel out the wah-zoo!
A spider inside the carb. I don't think this car was started very often.
The other valve thingy (someone please correct me!) which was clearly bad. The spring had zero response.
The skeleton of a carb getting ready for a bath.
The rest of the parts in the midst of a cleaning.
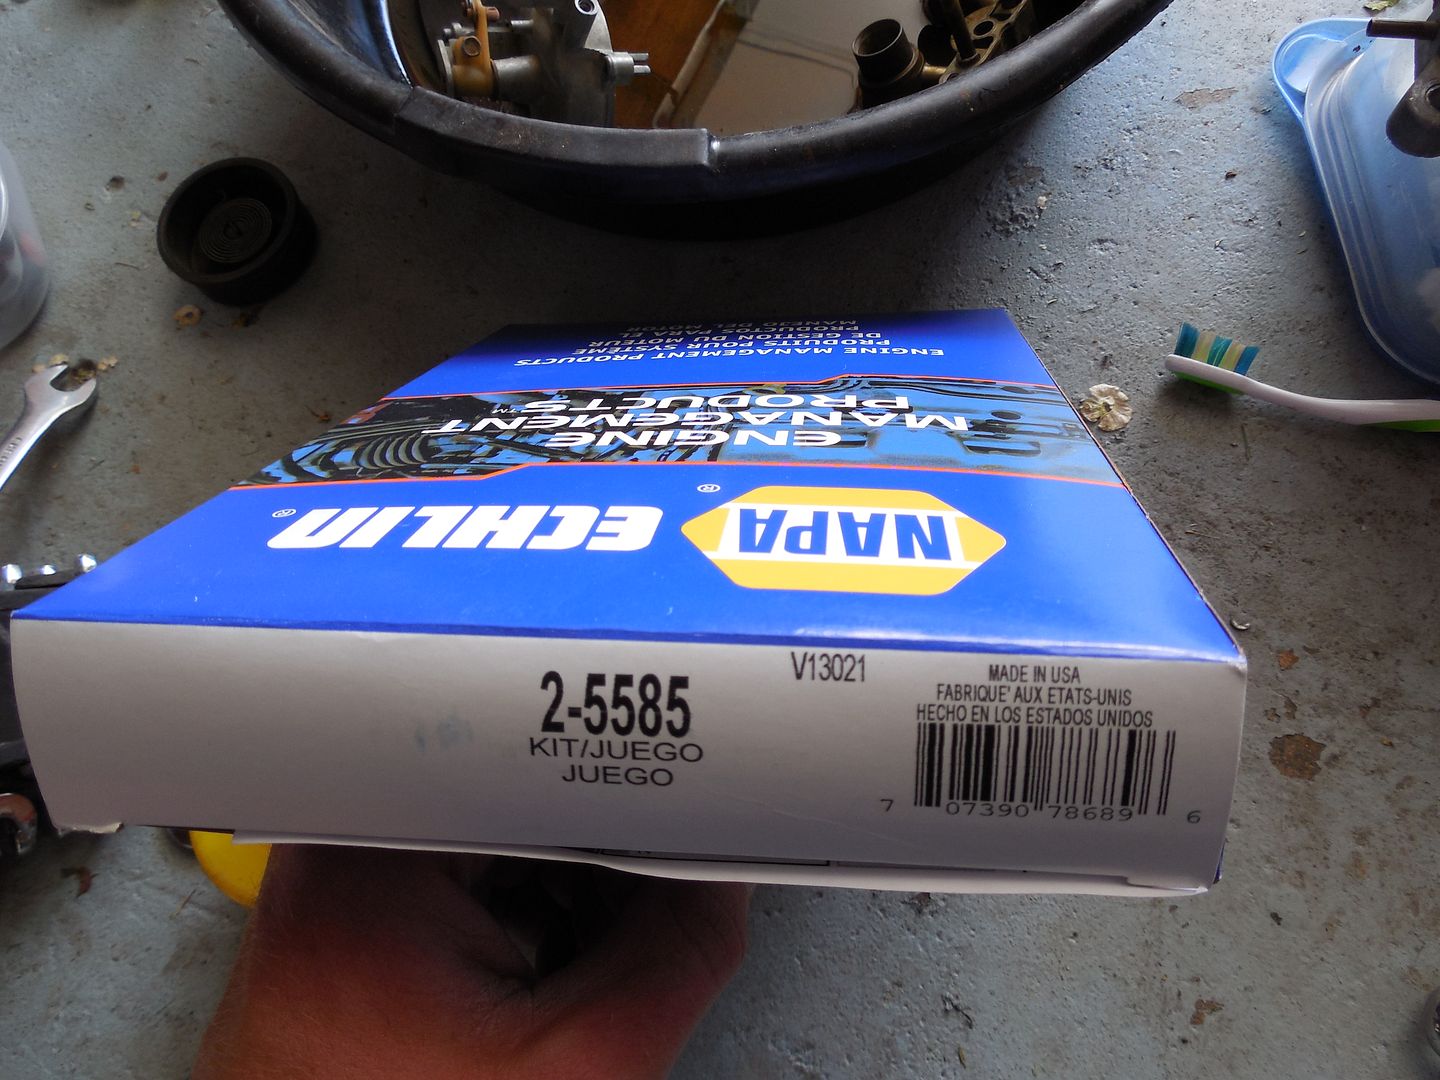
It took forever to find a kit that specifically covered my Autolight C8AF-L carb. It had all the stuff I needed and a few extras for some of the other Autolight models.
Some of the assembly instructions and parts. At Napa they've got you covered
Ahhh... nothing like new parts!
After figuring out this puzzle (and thanks to a digital camera with about 80 pictures of disassembly) I am sliding the last piece back in.
Alright! Back on the car without any leaks!
Another thing checked off the list
Last edited by Suicide68 (June 5, 2013 9:00 pm)
Offline
that is a sharp looking car...love the primer look.
Offline
I think I would ditch the carb and intake for a 4 barrel if you can afford it. Not only will it make the car have more power but it will also improve MPG... that is assuming you dont dip in to the secondaries much
Offline
That would be super sweet! Sadly right now I don't have the money for a 4 barrel, but would love to upgrade in the future! How much horse power can it add and how much worse or better would it make the MPG?
Thanks for the compliment Bockwinkle!
Last edited by Suicide68 (June 5, 2013 9:09 pm)
Offline
The Hub
Well, it was out on the freeway for the first time in about 7 years. Shocks might as well be disconnected. Engine didn't sound superb, but not bad. Threw a wheel weight on the front driver tire. At about 55 there is a horrific natural frequency now and the tire begins to bounce.
After parking out front I noticed the leaking substance. It looked like a cross between brake fluid and oil.
I knew it would just be a matter of taking the tire off to see what had happened. The only obstacle was where to jack the car from? I'd only worked on trucks with a big ol' axle and front differential. I figured I'd go for the (correct me if I'm wrong) A arm near/below the coil.
Hmmm.... I turn the rim around and I see a big ring of grease. Maybe this was the mystery fluid?
Looking at the Drum I don't see anything off hand that has cause for alarm. The dust cover has seen better days though. Just a quick pop with the screw driver and it came right off.
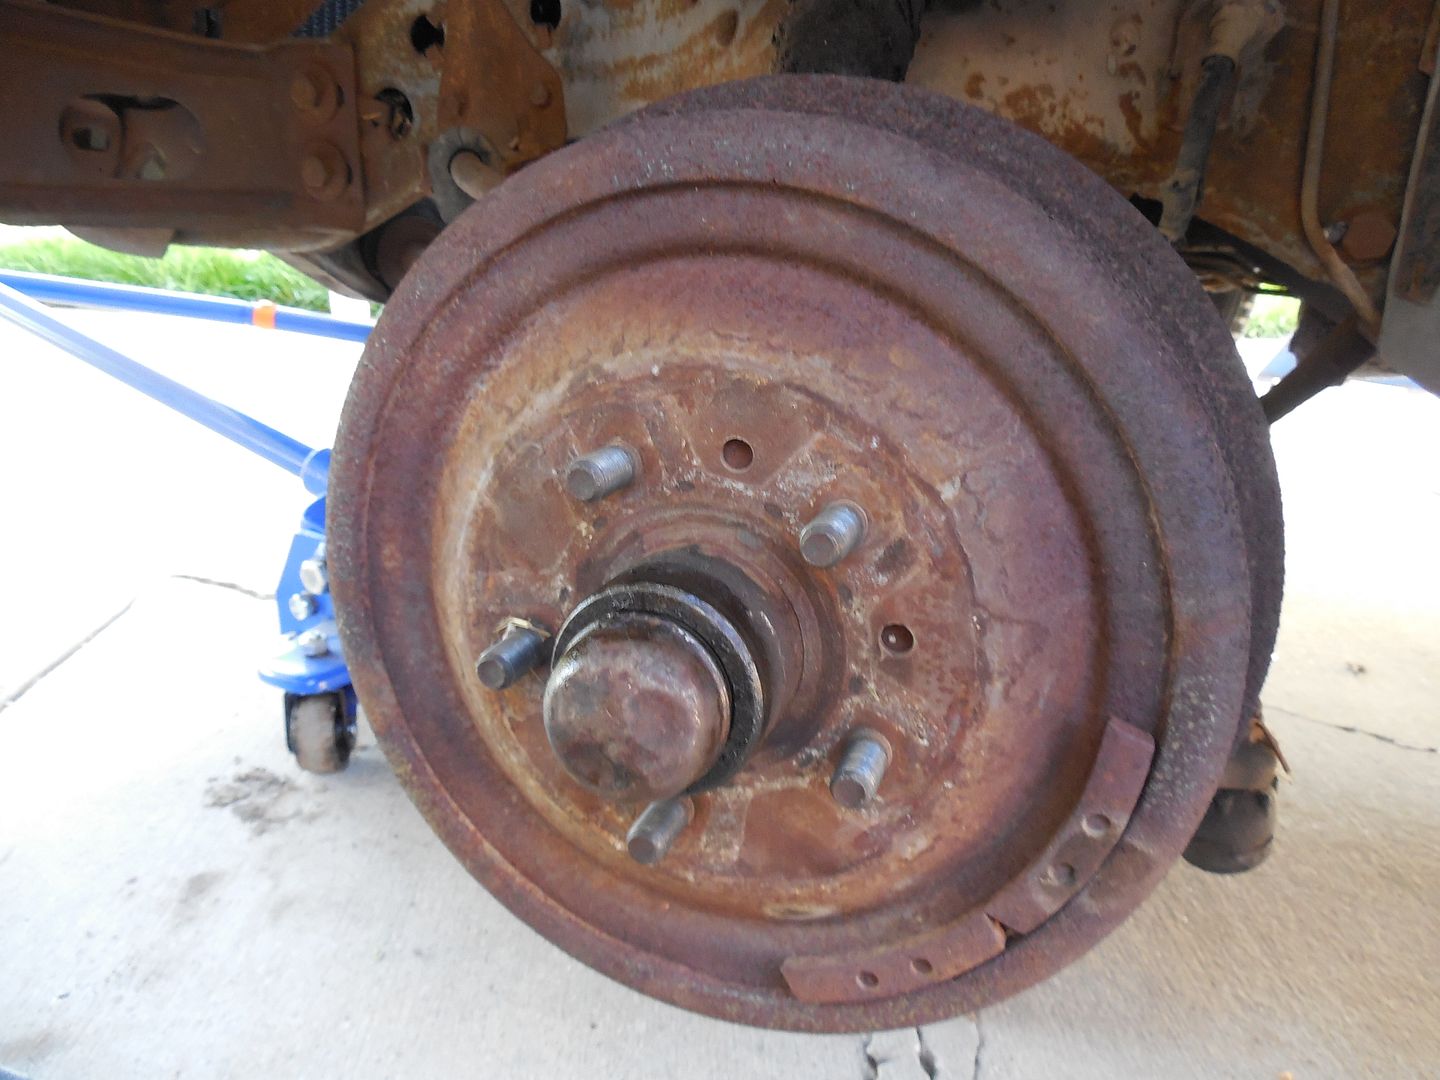
Now I get a chance to finally see what the hub looks like on these things. It consists of a cotterpin with a castle nut cover, a nut, a flat washer, and an outter wheel bearing all riding on the spindle.
First step was to remove the cotter pin and castle nut cover.
Now we are just left with the nut and a flat washer behind it retaining the wheel bearing. Just grab a 1 1/16" and pop her off (these shouldn't be very tight).
Ah, now you are just left with a washer. Notice there is a channel in the spindle that a flange on the washer sits in to keep from rotating against the nut.
I was having a bit of trouble figuring out how to pop off the drum on my 68'. I had PB blastered some of the bolts holding the Entire assembly on thinking this was the way to do it.
Someone should have yelled, "STOP!". These bolts hold everything on to your steering knuckle (or the equivalent?). I finally notice a little window at the base of the inner drum.
Eurika! The way to back the brakes off! With a screw driver I was able to spin the gear one way with a clicking sound each time I spun it one tooth farther and farther. Little did I know there was a spring loaded latch hiding in the shadows behind the gear. After a good whiles I finally figured out how to get it to release the gear allowing it to spin the other way.
I found using a second screwdriver to push the spring loaded latch away from the gear and window would do the trick.
I finally got a look at the breaks and pulled the outer drum off.
Well, to me everything looks ok, if not better than the rest of the vehicle. So I decided to clean up the bearings and repack them. I imagine the grease (if any) is probably about bad which may explain why it separated and oozed onto my rim.
I inspected them closely for any signs of wear or stress. They looked alright to me so I just super cleaned them in break cleaner and repacked them.
Now here is a shot of the inner bearing after I had gotten everything put back together.
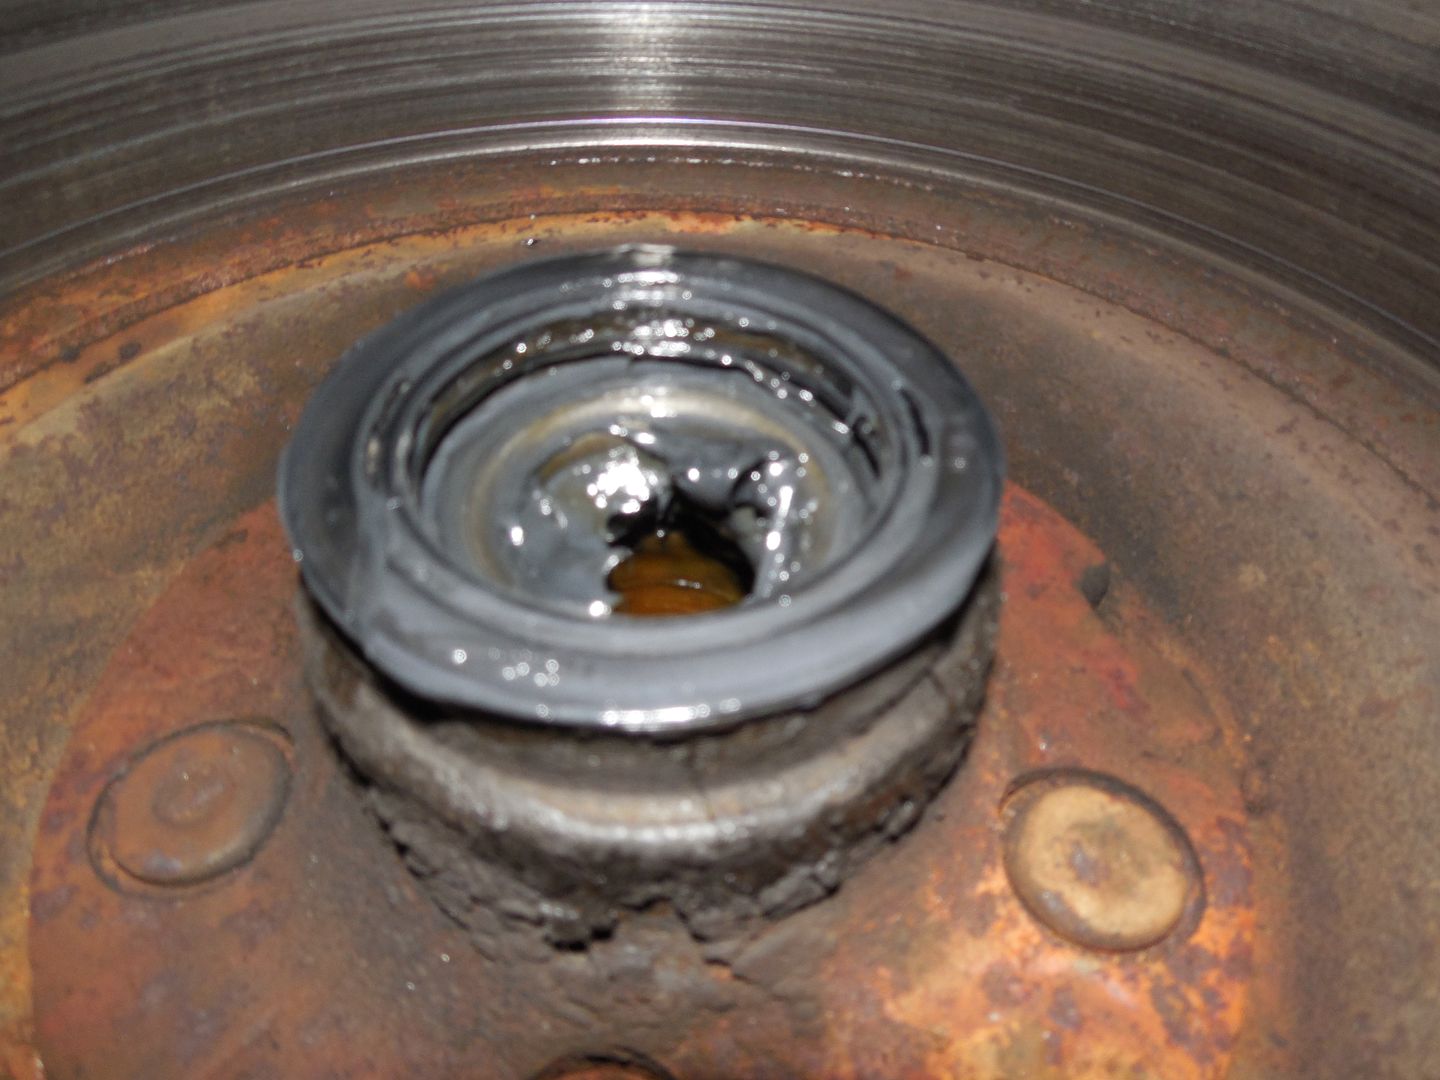
Now, I couldn't track down a new bearing seal anywhere! I know it is a big no-no to reuse seals, but it was super snug to start with and did not have any form of damage on it. After undoing what I did in the above I put the tires back on and lowered it to the ground.
Seems a good bearing repacking solved the issue.
Offline
thats strange that that much grease came out. makes me wonder if the bearings were not adjusted properly?? if the any work had been done in the past and the bearings were set to tight that would cause heat which would liquify the grease and allow it to migrate. Just a thought
Offline
I have no idea, but I know for sure the bearing was seated way too tight! I think it was seated and left at 30 foot pounds base on how tight it was to break loose from the washer. On my Explorer the bearing needs to be seated at 30 foot pounds, backed off, then retightended to 16 inch pounds. I repacked the bearing on the Galaxie and seated it at 25 foot pounds, backed off a half turn, then retightened to 16 inch pounds (basically finger tip tight). I made sure there was zero play and to align the castle cap and cotter pin I nudged it in the tighter position (maybe 5 degrees of a turn?). Been a lot smoother but lost the dust cap on the freeway. O'Reilly had new ones for a couple bucks.
Last edited by Suicide68 (June 7, 2013 8:16 pm)